
DIY Tips for Replacing Common Machine Parts at Home


Understanding the Basics of DIY Machine Repairs
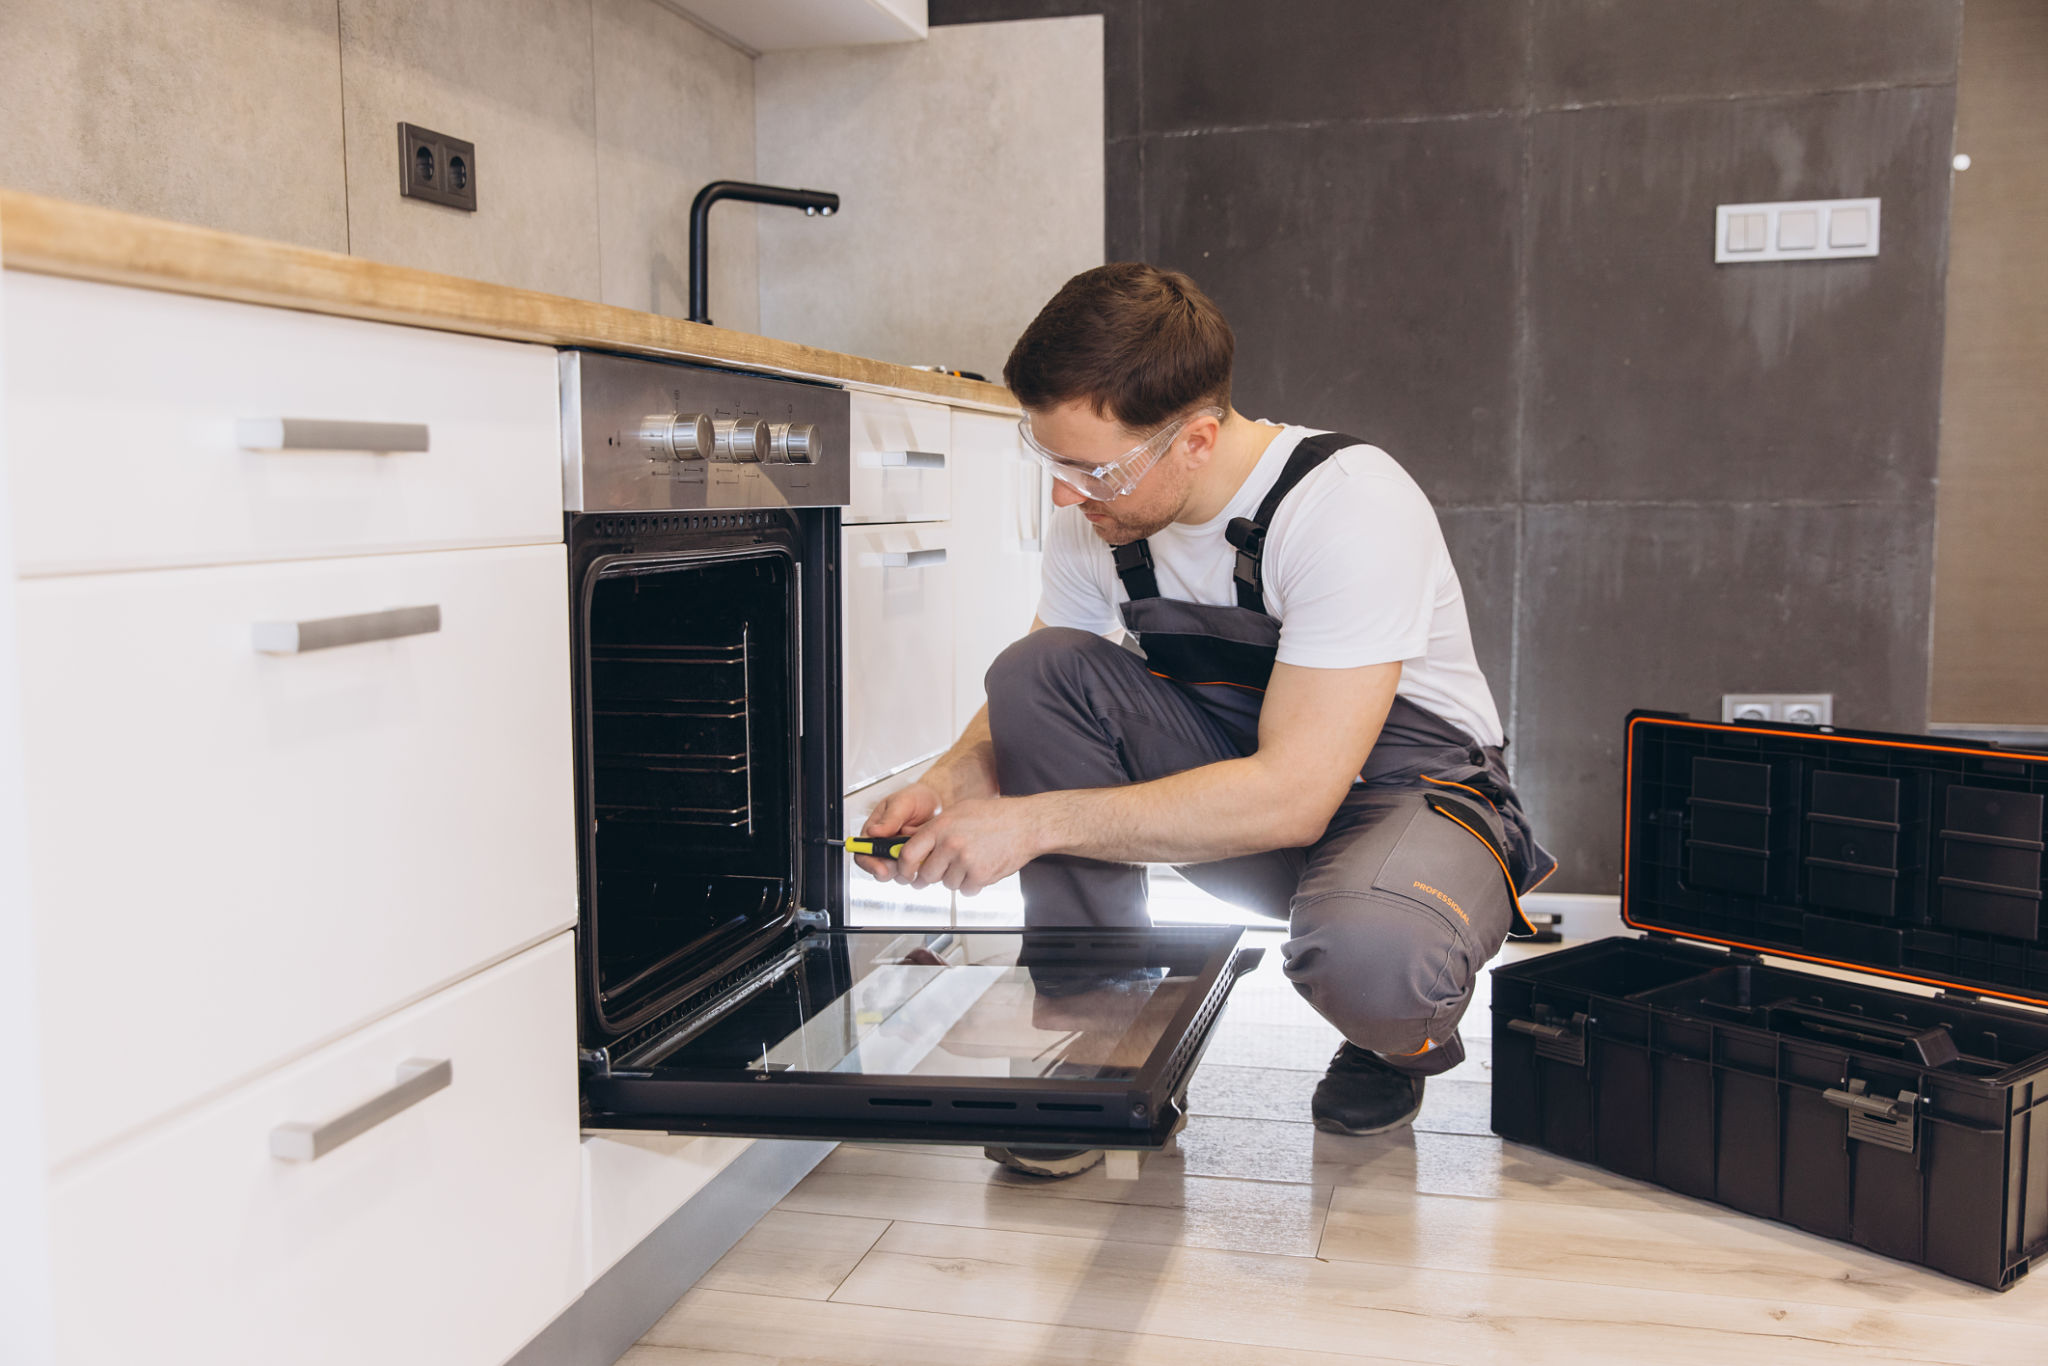
When it comes to maintaining household appliances or machinery, knowing how to replace common parts can save you both time and money. While some may shy away from the idea of DIY repairs, understanding the basics can empower you to tackle minor issues with confidence. In this guide, we’ll explore some tips and tricks to help you replace common machine parts at home.

Gathering the Necessary Tools
Before diving into any repair project, it's crucial to have the right tools on hand. A basic toolkit should include screwdrivers, pliers, wrenches, and a multimeter for electrical appliances. Having these tools at your disposal will make the process smoother and more efficient. It’s also wise to keep a notepad nearby to jot down any important steps or configurations you may need to remember during reassembly.
Identifying the Problem
The first step in any repair is accurately diagnosing the issue. Listen for unusual noises, inspect for visible damage, or check for error codes displayed on digital panels. Once you pinpoint the problem, you can determine whether a simple part replacement is the solution. For instance, if your washing machine isn't spinning, a worn-out belt might be the culprit.
Replacing Worn-Out Belts
Belts are common components in many household machines like washing machines and vacuum cleaners. To replace a belt, first, ensure the machine is unplugged to avoid any electrical hazards. Then, refer to your device’s manual to locate the belt and determine how to access it. Usually, this involves removing a panel or cover. Replace the old belt with a new one of the same size and type, ensuring it’s fitted correctly.
Swapping Out Filters
Filters play a vital role in devices such as air purifiers, HVAC systems, and refrigerators. Over time, filters can become clogged, reducing efficiency and potentially causing damage. To replace a filter, locate it according to your machine’s manual, remove the old filter, and insert the new one. Always ensure the filter is fitted snugly without any gaps that could allow unfiltered air or particles through.

Dealing with Electrical Components
For electrical components like fuses or lightbulbs in appliances, safety is paramount. Always disconnect the power source before attempting any repairs. Use a multimeter to test whether a fuse is blown or if an electrical component is malfunctioning. Replacing these parts usually involves unscrewing the old component and installing a new one of the same specifications.
Maintaining Proper Documentation
It’s essential to keep track of all repairs and part replacements. This documentation can be incredibly helpful for future troubleshooting or when consulting with professionals if further issues arise. Note down the parts replaced, dates, and any challenges encountered during the repair process.
Knowing When to Call a Professional
While DIY repairs can be rewarding and cost-effective, there are times when calling a professional is the best course of action. If you're unsure about handling electrical components or if a repair involves complex machinery beyond your expertise, it's safer to consult an expert. Attempting repairs without adequate knowledge can lead to further damage or safety hazards.

By following these DIY tips for replacing common machine parts at home, you'll be well-equipped to handle minor repairs confidently. Not only will you extend the lifespan of your appliances, but you'll also gain valuable skills that can be applied to future projects. Remember always to prioritize safety and consult your appliance manuals for specific guidance.